If you want to know the correct way to start your RC car, in particular, what order to turn things on, keep reading. Also, learn how these vehicles get their signal and the best way to start a gas car.
What do you turn on first on an RC car?
Here is the correct procedure:
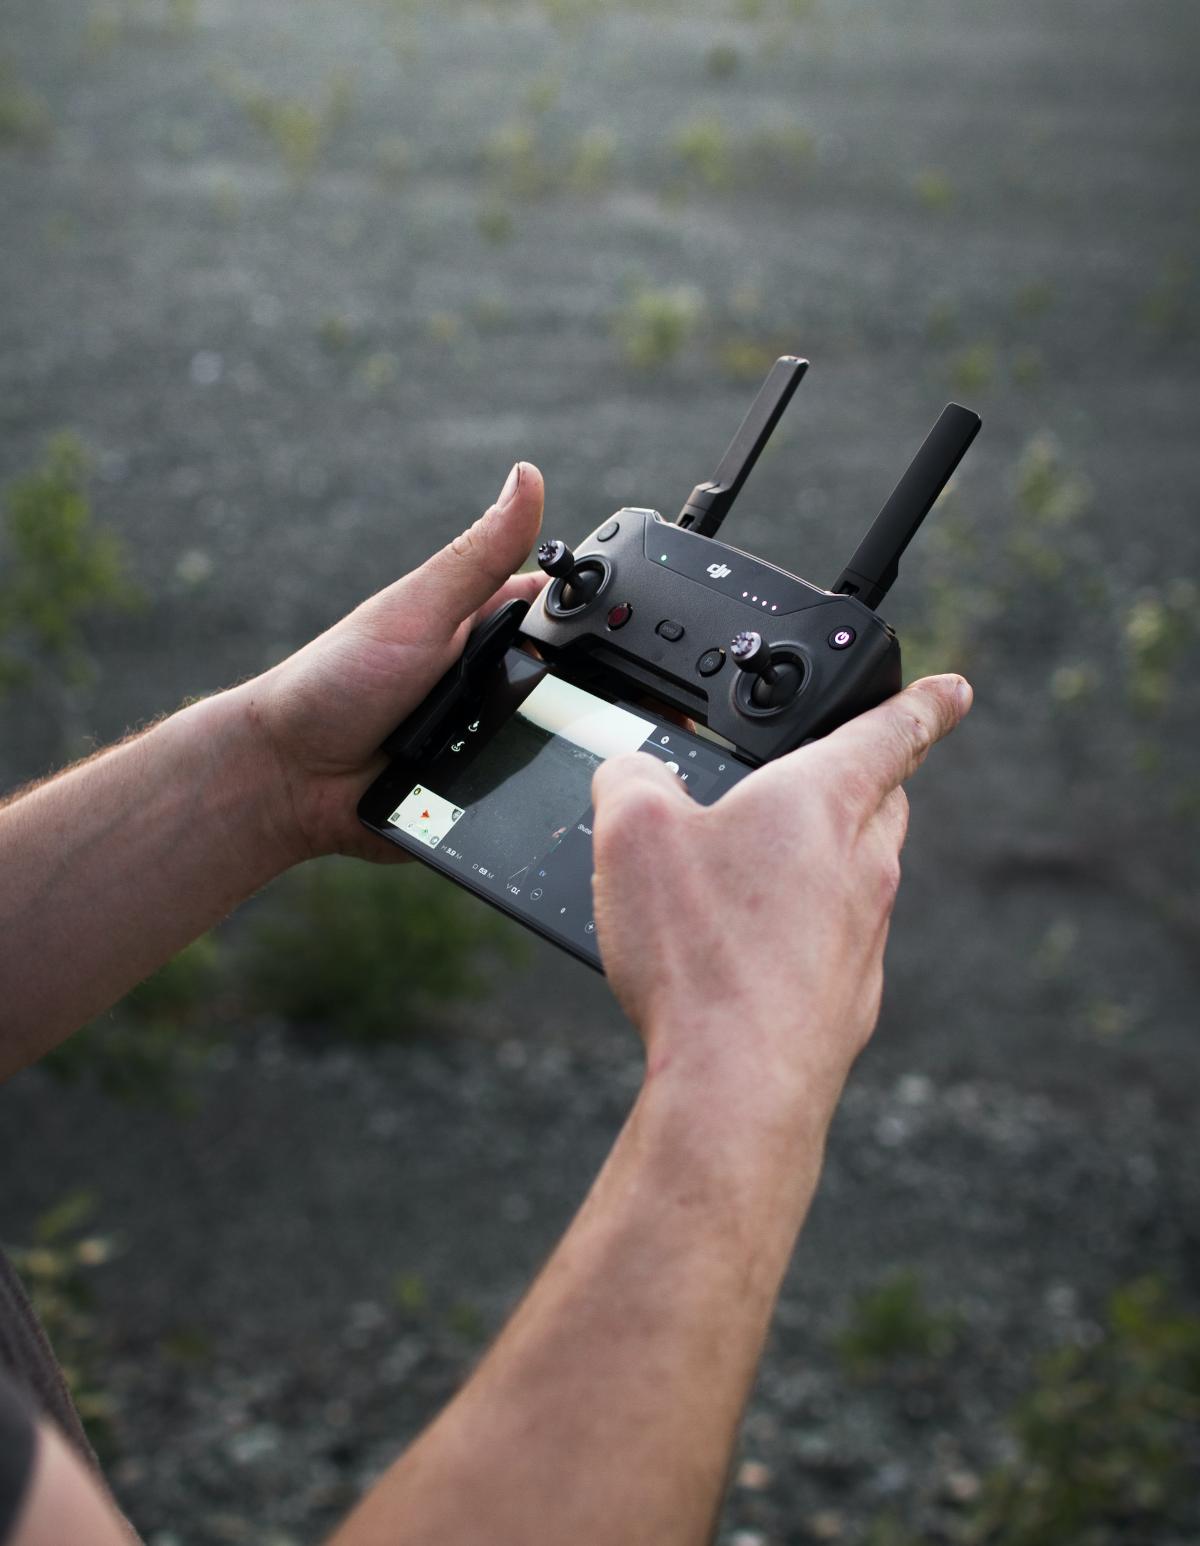
Step 1: Transmitter ON First
Always turn on your transmitter (the remote control) first. This ensures that when the RC car is powered on, it immediately finds and latches onto the correct signal. Without this, the car might behave unpredictably if it detects another signal or interference.
Step 2: Power Up the RC Car
Once your transmitter is on and you’ve verified it’s functioning correctly (e.g., no warning lights, full battery, etc.), proceed to switch on your RC car. Listen for any beeps or indicator sounds, which might vary depending on the model.
Understanding the Importance of Sequence
It’s important to highlight why the sequence matters. RC cars, especially those with sophisticated electronics, depend on a specific order of operations to ensure:
- Proper calibration and communication between the transmitter (remote control) and the receiver (inside the car).
- Prevention of unwanted movements or sudden jerks that might damage the car or its surroundings.
- Prolonging the life of the electronics by reducing the potential for electrical surges.
The Shutdown Process
Just as there’s a sequence for starting up, there’s also a recommended sequence for shutting everything down.
Step 1: Turn Off the RC Car
First, ensure your car is in a secure position and won’t roll away or engage accidentally. Turn off the power to the car, which usually involves a switch or button press.
Step 2: Turn Off the Transmitter
With the car safely powered down, you can now shut off the transmitter.
Additional Tips
- Battery Care: If your RC car uses rechargeable batteries, always make sure they are adequately charged before use and stored in a cool, dry place when not in use.
- Calibration: Occasionally, you may need to recalibrate the connection between your transmitter and receiver, especially if you notice any lag or erratic behavior. Refer to your user manual for instructions.
- Avoid Water: While some RC cars are designed to be water-resistant, it’s generally a good idea to avoid water or damp conditions, as moisture can damage electronics.
How Do RC Cars Get Signal?
Here are the important factors that make this happen:
1. The Basics of Radio Communication
The term “radio control” derives from the use of radio waves for communication. When you move a joystick or press a button on the transmitter (the hand-held controller), it sends specific radio wave signals.
The RC car, equipped with a receiver, captures these signals and translates them into commands that direct its motors.
2. Frequency and Channels
In the early days of RC cars, specific frequencies were designated for remote control use. Hobbyists had to be careful not to operate their cars on the same frequency simultaneously, or they’d interfere with one another.
Today, most modern RC cars use 2.4 GHz systems, which have many channels available. The technology automatically selects an unused channel when the controller and car are paired, virtually eliminating interference.
3. The Transmitter
The transmitter is the device that you, as the user, hold in your hands. When you give an input, the transmitter encodes it into a radio signal. This encoding is done digitally in most modern systems. The encoded signal is then amplified and broadcast via the transmitter’s antenna.
4. The Receiver
Inside your RC car is the receiver, a small device with its antenna. The primary job of the receiver is to ‘listen’ to the signals being broadcast by the transmitter.
Once it captures a signal, it decodes the information and sends it to the appropriate component within the RC car – be it the steering servo, the motor for forward or backward movement, or other functions.
5. Modulation Techniques
To ensure that signals are transmitted and received correctly, RC systems use modulation techniques. The two primary types are Amplitude Modulation (AM) and Frequency Modulation (FM).
Nowadays, Spread Spectrum technology, specifically Direct Sequence Spread Spectrum (DSSS) and Frequency Hopping Spread Spectrum (FHSS), is more commonly found in 2.4 GHz systems. These newer methods offer a more reliable connection with minimal interference.
6. Digital vs. Analog Systems
Older RC systems were predominantly analog. In an analog system, the transmitter’s variable positions directly influenced the transmitted signal’s characteristics.
Modern systems are predominantly digital. Here, the transmitter’s position is converted into a digital code, which the receiver decodes. Digital systems are generally more precise and less susceptible to interference.
How Do You Start an RC Gas Car?
Here are the steps:
1. Gather Necessary Supplies:
Before starting, ensure you have fresh fuel specifically designed for RC gas cars, a glow igniter, and your RC car transmitter.
2. Safety First:
Ensure you’re in a well-ventilated area, away from any open flames or potential fire hazards. Always wear safety glasses to protect your eyes from any fuel splashes or debris.
3. Check the Radio System:
Turn on your transmitter first, followed by the receiver in the car. This sequence ensures that you have control over the car once it’s started.
4. Fill the Fuel Tank:
Using a clean fuel bottle, carefully fill the car’s fuel tank. Make sure not to overfill or spill fuel on the engine or electronics.
5. Prime the Engine:
This step is about getting fuel into the carburetor to ensure a successful start.
- Cover the exhaust tip with your finger.
- Pull the starter cord a few times until you see fuel moving through the fuel line into the carburetor.
- Once you see fuel in the line, stop pulling and remove your finger from the exhaust.
6. Attach the Glow Igniter:
Place the glow igniter onto the glow plug at the top of the engine. This will heat the glow plug, enabling combustion inside the engine.
7. Start the Engine:
While the glow igniter is still attached, pull the starter cord briskly a few times. The engine should come to life. If it doesn’t start after several attempts, revisit the priming step.
8. Let it Warm Up:
Once the engine starts, let it idle for a minute or two. This warms up the engine and ensures smoother performance.
9. Adjust as Needed:
If the engine sounds like it’s stuttering or not running smoothly, you might need to adjust the carburetor settings. Fine-tuning might be necessary based on the altitude, temperature, and specific conditions on the day you’re running the car.
10. Ready to Go:
Once your engine is warmed up and running smoothly, you can begin driving. Remember to always have the transmitter within reach when the car is on to maintain control.